Agility Academy: take courses and earn certifications. Learn at your own pace - it's free! Learn More
Auth
- User Management
- Access Management
- Multi-Factor Authentication
- Single Sign On
Auth0 is an easy to implement, adaptable authentication and authorization platform. Use Auth0 to allow users to sign up, login, and access protected Content or Pages on your Agility CMS powered website or application.
Setting up Auth0
Step 1: Sign up to Auth0
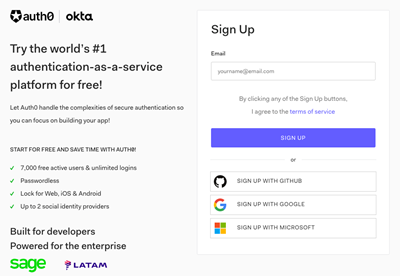
To get started with Auth0, sign up for a Free Account.
Step 2: Create an Application
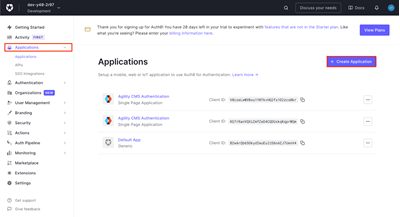
Next, you'll want to create an application by heading to Applications > Create Application.
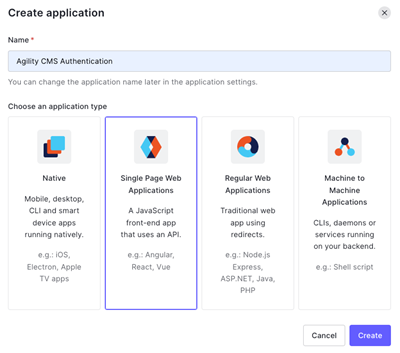
Give you application a name and select the application type.
Note
There are many ways to use Auth0 in your Applications and Websites. For this example, we will be creating a powered by Next.js and Agility CMS paired with Auth0's `@auth0/nextjs-auth0` NPM package.
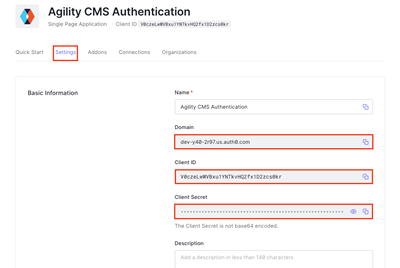
Once you've created your application head to Settings and take note of your Domain, Client ID, and Client Secret as we'll need to use this in our application later.
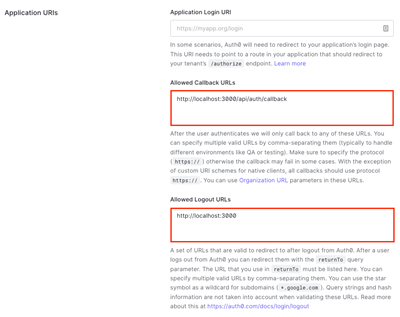
Scroll down the page to Application URIs. Fill out the following for the Callback URL's and Logout URL's.
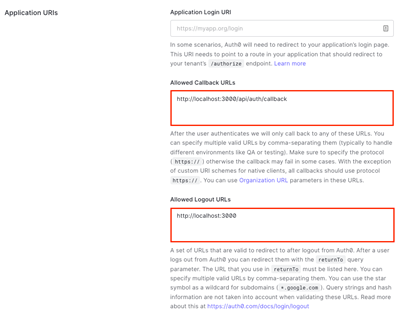
Feel free to look through and update the other Application Properties as needed. Once you're done, click Save.
Setting up an Agility CMS Website
We'll want to add authentication to an Agility CMS powered website. Sign up for a Free Agility CMS Account. Once you have an account, you'll be able to select a starter and create an Instance.
For this example, we'll be using the Next.js Blog Starter Template.
Getting Started with Agility CMS
Created a Protected Page in Agility
We may want to set up Protected Pages in Agility that only grants users who have access to an account visibility to that Page.
Step 1: Adding a Page
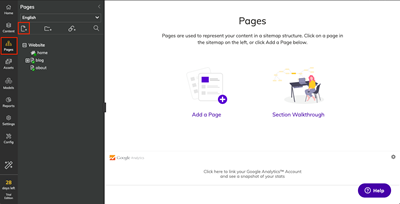
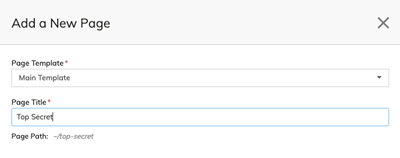
To add a Page in Agility, head to Pages and click the New Page Button.
Select a Page Template and give your Page a Title.
Step 2: Create Secret Content
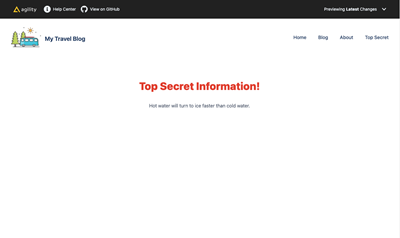
Add a Rich Text Area Page Module with some top secret information.
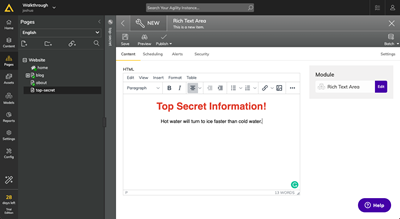
Make sure to save your changes.
Step 3: Protect the Page
To make this Page Protected, heat to the Settings of the Page and enable the Secure Page on Website toggle.
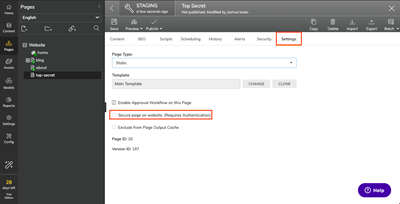
Make sure to save your changes.
Adding Auth0 to Your Website
The last step is to add Authentication within our Agility CMS powered website.
Step 1: Next.js Blog Starter Template
As mentioned previously, we will be using the Agility CMS Next.js Blog Starter Template as the boilerplate for our Authentication implementation.
The Next.js Starter (agilitycms.com)
Step 2: Install Packages
Once you have a copy of the Agility CMS Next.js Blog Starter running locally on you're machine, add the @auth0/nextjs-auth0 package as a dependency.
yarn add @auth0/nextjs-auth0Step 3: Set up Environment Variables
Remember those Auth0 credentials we asked you to save earlier? You'll want to include them as Environment Variables in your .env.local file.
AUTH0_SECRET=
AUTH0_BASE_URL=
AUTH0_ISSUER_BASE_URL=
AUTH0_CLIENT_ID=
AUTH0_CLIENT_SECRET=
To retrieve your Auth0 Secret, you can run the following code snippet in the command line:
openssl rand -hex 32This will return long secret value used to encrypt the session cookie.
Step 4: Add the Dynamic API Route
Next you'll want to add the Dynamic API Route. Inside the pages/api directory, create the file auth/[...auth0].js. Import in that file the handleAuth method from the SDK, and export the result of calling it.
This creates the following routes:
# The route used to perform login with Auth0.
/api/auth/login

# The route used to log the user out.
/api/auth/logout

# The route Auth0 will redirect the user to after a successful login.
/api/auth/callback

# The route to fetch the user profile from.
/api/auth/me
Step 5: Add the UserProvider Component
On the frontend side, the SDK uses React Context to manage the authentication state of your users. To make that state available to all your pages, you need to override the App component and wrap its inner component with a UserProvider. Add the following to the /pages/_app.js file:
import { UserProvider } from "@auth0/nextjs-auth0";
import "../styles/globals.css";

function MyApp({ Component, pageProps }) {
  return (
    <UserProvider>
      <Component {...pageProps} />
    </UserProvider>
  );
}

export default MyApp;
Step 6: Create the Protected Page
In the /components/Layout.js file, add the following code above the initial return statement:
import { withPageAuthRequired } from "@auth0/nextjs-auth0/dist/frontend";

...

const Protected = withPageAuthRequired(function ({ user }) {
    return (
      <>
        <SEO
          title={sitemapNode?.title}
          description={page.seo.metaDescription}
          keywords={page.seo.metaKeywords}
          metaHTML={page.seo.metaHTML}
        />
        <div id="site-wrapper">
          {isPreview && <LoadingWidget message="Loading Preview Mode" />}
          {!isPreview && (
            <div id="site">
              <PreviewBar {...props} />
              <div className="flex flex-col min-h-screen">
                <SiteHeader {...props} />
                <main className="flex-grow">
                  <AgilityPageTemplate {...props} />
                </main>
                <SiteFooter {...props} />
              </div>
            </div>
          )}
        </div>
      </>
    );
  });

  if (props.page.securePage) {
    return <Protected />;
  }

...
This code will return the Protected Page if the page has been flagged as secured in Agility CMS, otherwise it will return the regular page.
Test it out
If you try to access the Protected Page, it will now redirect you to login.
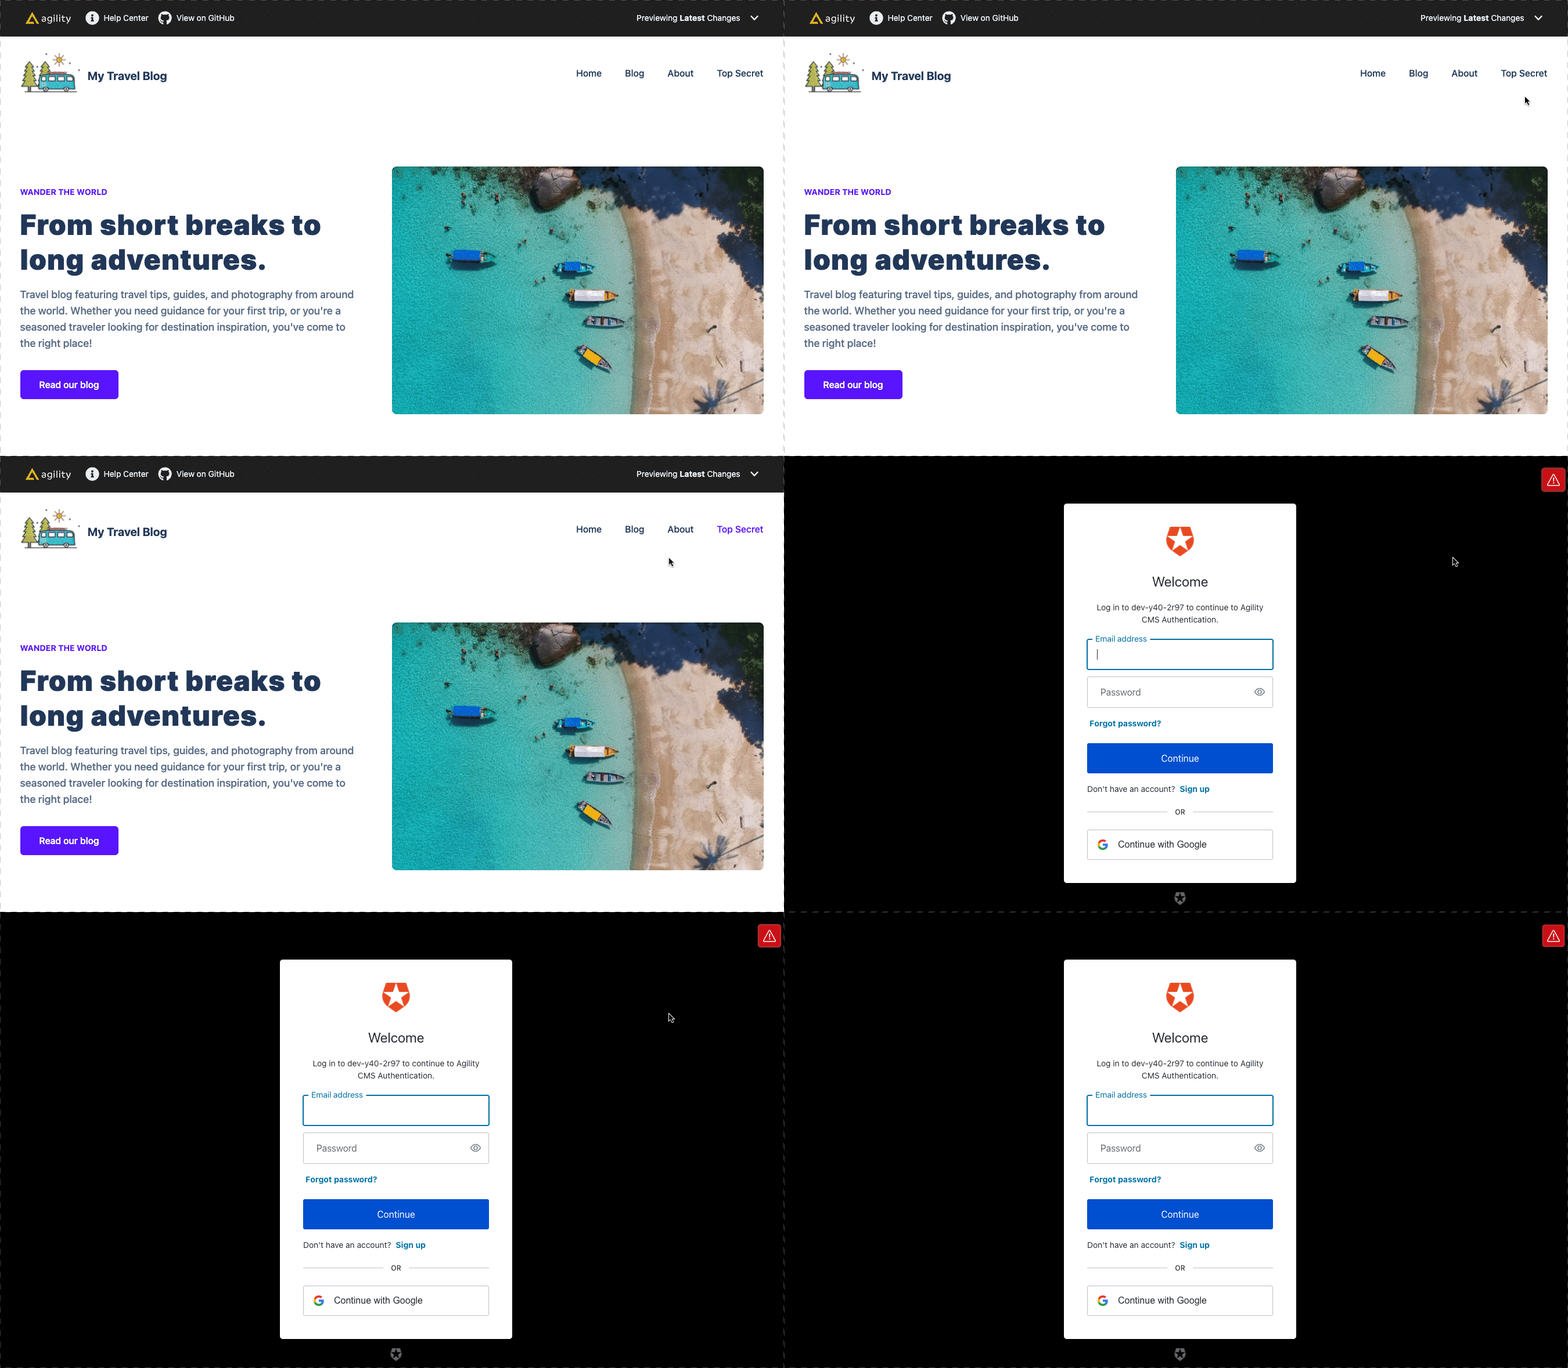
Once you authenticate, you'll be able to see the Protected Pages Content!!
