Agility Academy: take courses and earn certifications. Learn at your own pace - it's free! Learn More
Content Models
What is a Content Model and what are the Features and Benefits?
Content Models are the most important aspect of our Content First approach and allow you to make reusable, flexible, and easy to manage content within Agility, enabling Editors to make updates and publish content with ease, across all your digital products.
Simply put, a Content Model allows you to define the structure and needs of a piece of content, which you can then re-use anywhere.
Features and Benefits
- Customize content models directly in Agility using our visual builder
- Easily edit content models, evolving them over time with quick and easy updates
- Optimize the experience of your Editors by grouping fields together, setting required fields, and much more
- Future-proof your content with defined structure that’s decoupled from your presentation layer
- The flexibility of a content model that can be re-used for various types of content
Creating a Content Model
To create a new Content Model
1. Navigate to the Models section in your Agility Instance and click Content Models
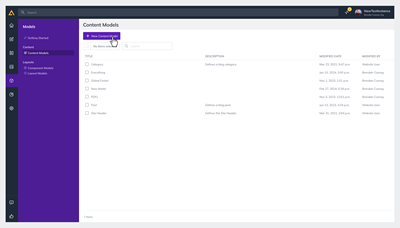
2. Click the New Content Model button located at the top of your screen
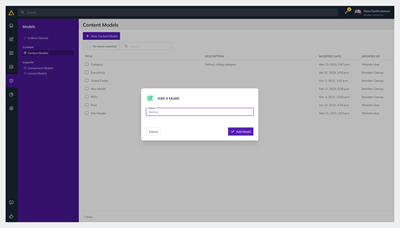
3. Choose a Name and click Add Model
4. You should now see a blank screen with some Field options on the right-hand side that you can use to create your Content Model
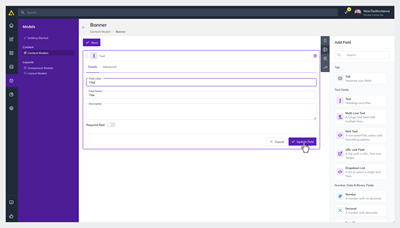
Creating a Content List
Now that you have your Content Model, we can create a content list based on that Model.
1. Click Usage on the right-hand side and then Add
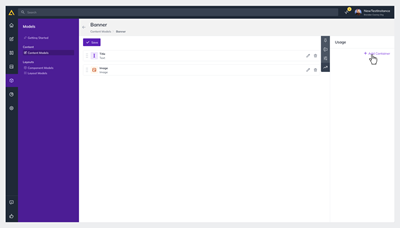
2. In the pop-up window you can choose a Name for your Content List, add it to an existing Group in your Content Dashboard or choose to restrict the Model to a single Content Item.
3. You'll now be able to see your new Content List or Single Content Item in the Content Section of your Agility Instance and create a piece of content!
Access your Content using the Content Fetch API
Once you've created a new Content Model, created a new Content List and populated it with some content, we are ready to request the content from the API.
When using the Content Fetch API, you can make a direct HTTP request to the REST service or use an SDK in your favorite programming language to simplify making requests.
Step One: You need to know what the Reference Name for your list is, which is the required parameter in order to retrieve all content items in a list.
*** It's important to note that ALL reference names MUST be lowercase when using the REST API. If you don't know your Reference Name, you can retrieve this in Agility by navigating to Content, selecting a List, clicking the Properties tab and noting the Reference Name property.
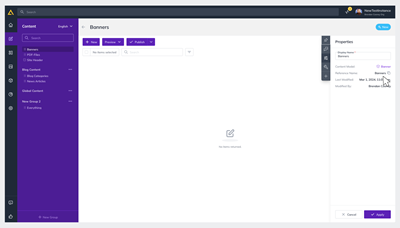
Step Two: In this example, we'll use a simple curl command to illustrate how to access the content we just created.
curl https://api.glty.io/046a1a87/fetch/en-us/list/myfirstlist
 --header "APIKey: defaultlive.2b7f3a91559d794bedb688358be5e13af2b1e3ae8cd39e8ed2433bbef5d8d6ac"
Step Three: The response returned from the API is shown below.
{
  "items": [
    {
      "contentID": 25,
      "properties": {
        "state": 2,
        "modified": "2019-08-14T13:07:25.99",
        "versionID": 142,
        "referenceName": "myfirstlist",
        "definitionName": "myFirstModel",
        "itemOrder": 0
      },
      "fields": {
        "title": "myFirstTitle"
      },
      "seo": null
    }
  ],
  "totalCount": 1
}
Further Reading
The following guides will help you if this is your first time building a Content Model