Agility Academy: take courses and earn certifications. Learn at your own pace - it's free! Learn More
Custom Roles
What are Custom User Roles?
Custom Roles can be used to mix and match the default permissions that Agility makes available to you and set your own Role names.
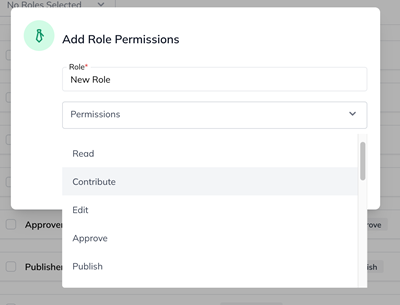
Available Permissions
- Read - Grants a user access to "Read" something but not edit it
- Contribute - Grants a user access to create something, and edit what they've created, but not something created by someone else
- Edit - Grants a user access to change something
- Approve - Grants a user access to Approve or Decline something that has been requested for approval
- Publish - Grants a user access to Publish or Unpublish something
- Manage - Grants a user permission to all settings, models and reports
- Delete - Grants a user access to Delete something
- Design/Develop - Grants a user access to Models and fields that are marked as "Designer Only"
- View Reports - Grants a user access to the reporting section
- Full Control - Grants a user full control over an instance, including all user management controls
How to Create a Custom Role
1. In Agility, navigate to Settings > Roles

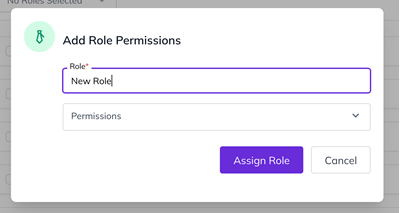
2. Click + Add Role
3. Give the Role a Name

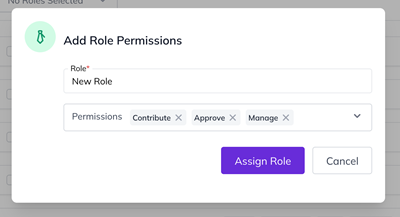
4. From the Dropdown, select the permissions you’d like to assign to the Role

5. Click Assign Role

These Roles will now be available for you to assign to Users!
Note
Custom Roles are only available for Enterprise customers.
In this Article:
Was this article helpful?