TanStack Table in React: Everything You Need to Know
Covering headless architecture, setup, and core features

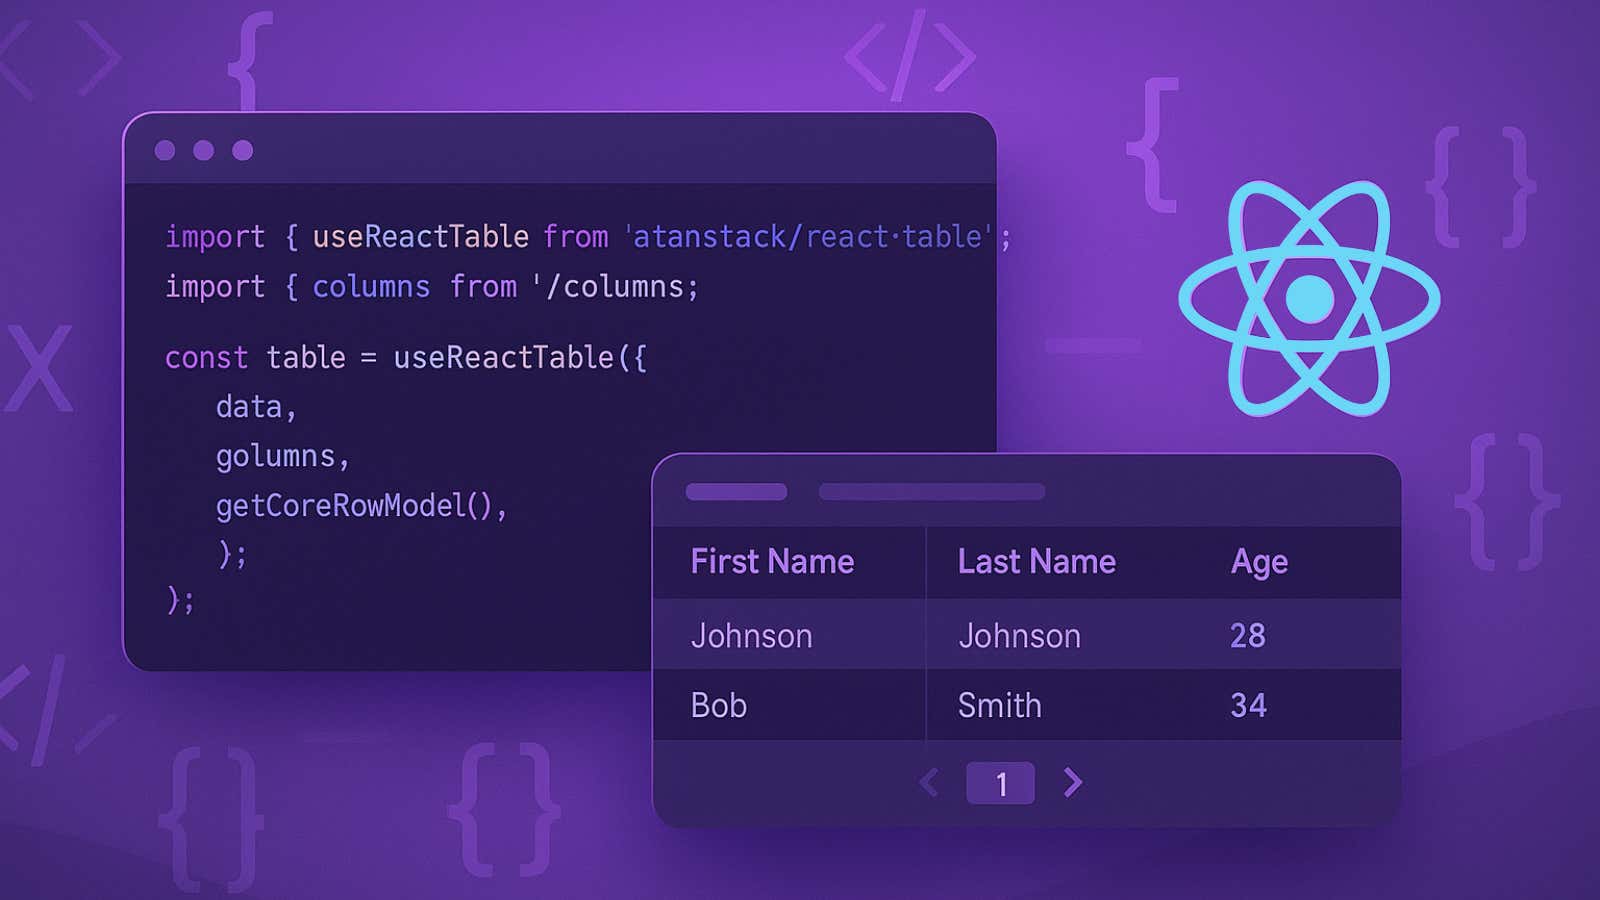
TanStack Table (formerly React Table) is a headless utility for building powerful data grids and tables in React. It provides hooks that handle core table logic—sorting, filtering, pagination, and more—while you control markup and styling.
In this guide, we’ll cover:
-
What makes TanStack Table unique
-
Installing and setting up in your React project
-
Defining columns and data
-
Enabling sorting, filtering, and pagination
-
Integrating client-side pagination logic (see our pagination tutorial)
-
Performance best practices
- Extending with plugins
Let’s dive in.
Why Choose TanStack Table?
-
Headless API: All UI markup is up to you, so it fits any design system.
-
Tree-shakable: Import only the hooks you need to keep bundles lean.
-
Feature-rich: Built-in support for sorting, grouping, filtering, pagination, and more.
-
Plugin architecture: Extend functionality without forking core code
2. Installation
Run:
bash
CopyEdit
npm install @tanstack/react-tableor
bash
CopyEdit
yarn add @tanstack/react-tableEnsure you’re using React 17+.
3. Basic Setup
A. Define Your Data and Columns
jsx
CopyEdit
// data.js
export const data = [
  { firstName: 'Alice', lastName: 'Johnson', age: 28 },
  { firstName: 'Bob', lastName: 'Smith', age: 34 },
  // …more rows
];

// columns.js
import { createColumnHelper } from '@tanstack/react-table';

const columnHelper = createColumnHelper();

export const columns = [
  columnHelper.accessor('firstName', { header: 'First Name' }),
  columnHelper.accessor('lastName',  { header: 'Last Name' }),
  columnHelper.accessor('age',       { header: 'Age' }),
];
B. Initialize the Table
jsx
CopyEdit
import { useReactTable, getCoreRowModel } from '@tanstack/react-table';
import { data } from './data';
import { columns } from './columns';

function MyTable() {
  const table = useReactTable({
    data,
    columns,
    getCoreRowModel: getCoreRowModel(),
  });

  return (
    <table>
      <thead>
        {table.getHeaderGroups().map(hg => (
          <tr key={hg.id}>
            {hg.headers.map(header => (
              <th key={header.id}>
                {header.isPlaceholder ? null : header.renderHeader()}
              </th>
            ))}
          </tr>
        ))}
      </thead>
      <tbody>
        {table.getRowModel().rows.map(row => (
          <tr key={row.id}>
            {row.getVisibleCells().map(cell => (
              <td key={cell.id}>{cell.renderCell()}</td>
            ))}
          </tr>
        ))}
      </tbody>
    </table>
  );
}
4. Adding Sorting & Filtering
Enable sorting by importing the sorting plugin hooks:
jsx
CopyEdit
import {
  getSortedRowModel,
  useReactTable,
  flexRender,
} from '@tanstack/react-table';

const table = useReactTable({
  data,
  columns,
  getCoreRowModel: getCoreRowModel(),
  getSortedRowModel: getSortedRowModel(),
  state: { sorting },
  onSortingChange: setSorting,
});
Clicking a header:
jsx
CopyEdit
<th onClick={header.column.getToggleSortingHandler()}>
  {flexRender(header.column.columnDef.header, header.getContext())}
</th>- Display sort direction with header.column.getIsSorted().
For column filtering, add getFilteredRowModel and include filter UIs (see the official docs).
5. Client-Side Pagination
Instead of a server round-trip, use the built-in pagination plugin:
jsx
CopyEdit
import { getPaginationRowModel } from '@tanstack/react-table';

const table = useReactTable({
  data,
  columns,
  getCoreRowModel: getCoreRowModel(),
  getPaginationRowModel: getPaginationRowModel(),
});

const { nextPage, previousPage, getCanNextPage, getCanPreviousPage } = table;

// In your UI:
<button onClick={() => previousPage()} disabled={!getCanPreviousPage()}>
  Previous
</button>
<button onClick={() => nextPage()} disabled={!getCanNextPage()}>
  Next
</button>
For deeper control or state in the URL, refer to our client-side pagination tutorial.
6. Performance Tips
-
Memoize data and columns with useMemo to avoid unnecessary recalculations.
-
Virtualize rows for very large data sets—combine with libraries like react-virtual.
-
Tree-shaking: Import only the hooks you need (getCoreRowModel, getSortedRowModel, etc.).
7. Styling & Theming
Since TanStack Table is headless, integrate with any CSS strategy:
-
Tailwind: add utility classes to <table>, <th>, <td>.
-
CSS-in-JS: wrap cells with styled components.
-
UI libraries: map cell renderers to components from your design system.
8. Extending with Plugins
Explore advanced plugins:
-
Row grouping: getGroupedRowModel
-
Column visibility: getColumnVisibilityRowModel
-
Expanding rows: getExpandedRowModel
Combine multiple row models by passing them into useReactTable.
Conclusion
TanStack Table gives you complete control over table UI while handling complex logic under the hood.
By combining sorting, filtering, pagination, and performance optimizations, you can build high-performance data grids tailored to your design.
For a full starter project that integrates TanStack Table in a Next.js app, check out our Next.js Starter.
If you’re managing data and content alongside your tables, see how our Content Fetch API can power your React components

About the Author
Agility CMS is Canada's original headless CMS platform. Since 2002, Agility has helped companies across Canada and around the world better manage their content. Marketers are free to create the content they want, when they want it. Developers are empowered to build what they want, how they want.
- Get a demo for a personalized walkthrough.
- Try for FREE and experience Agility CMS.
- Contact us with your questions.