Agility Academy: take courses and earn certifications. Learn at your own pace - it's free! Learn More
Deploying your Eleventy site to Netlify
This guide will cover the steps on how you can deploy your site built with Eleventy and Agility CMS to Netlify.
Sign in to your Netlify account, or Sign Up if you don't already have one. Then, create a New Site from Git. Choose the Git provider where your site’s source code is hosted.
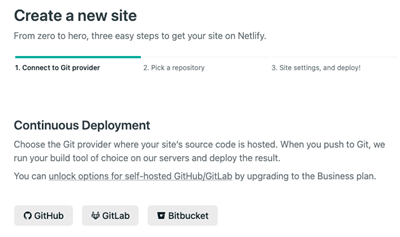
Search for the Eleventy site you wish to deploy.

Ensure the build command is running npm run build

Be sure to click Show Advanced to show the option of adding and defining environment variables, the environment variables you'll need to add are as followed:
# get these values from the API Keys page in Agility Settings => https://manager.agilitycms.com/settings/apikeys

# Your Instance Id
AGILITY_GUID=XXX

# Your Live API Key
AGILITY_API_FETCH_KEY=XXX

# Your Preview API Key
AGILITY_API_PREVIEW_KEY=XXX

# The Locale You'd Like To Source Content From (Default en-us) => https://help.agilitycms.com/hc/en-us/articles/360056925351-Introduction-to-Locales
AGILITY_LANGUAGE_CODE=en-us

# The Name of the Sitemap You'd Like To Source Content From (Default website) => https://help.agilitycms.com/hc/en-us/articles/360055329632
AGILITY_CHANNEL_NAME=website# This tells Netlify to use Node version 14 or aboveNODE_VERSION=14
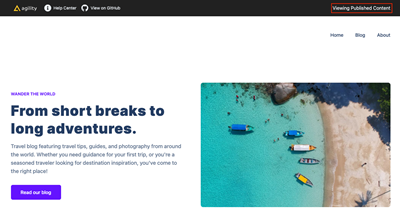
When the site is deployed, you'll notice the site with its Published Content.
Setting Up the Production Deployment in Agility
Once you have your Production Deployment set up on Netlify, we can set up the deployment Netlify provides as the Production deployment in Agility CMS.
Learn how to customize your domain in Netlify
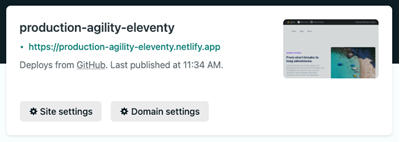
In Agility CMS, head to Settings > Sitemaps, and set up a new Custom Deployment.

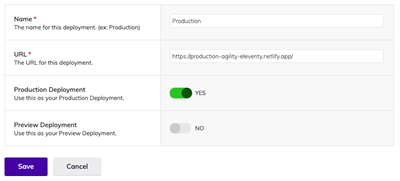
Give your deployment a Name, enter the URL, and set it as the Production Deployment then click Save.
Updating The Eleventy site when Content is Published
To update your Production deployment when Content is Published, we'll need to set up a Build Hook to notify Netlify of these changes.
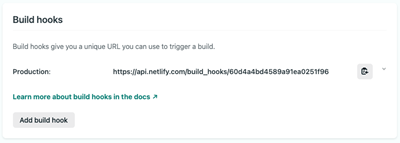
In Netlify, go to Build Settings > Build & Deploy and add a Build Hook. Add a Build Hook and copy the Webhook URL Netlify generates for you.
In Agility CMS, go to Settings > Web Hooks, and add a new Webhook. Give it a Name, and paste the Webhook URL Netlify generated for you. Make sure "Receive Content Publish Events" is Checked. You can test the webhook by sending a Test Payload.
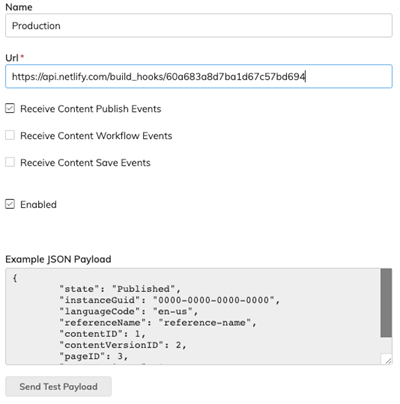
The Production Deployment of your Eleventy site will now rebuild and update when Publish events are made in Agility!
Setting Up a Preview Deployment with Netlify
The easiest way to get Preview set up with Eleventy, is to set up and configure a secondary deployment of your Eleventy site using your Preview API Key, which will pull down and sync your latest changes to Content and Pages.
Sign in to your Netlify account, or Sign Up if you don't already have one. Then, create a New Site from Git. Choose the Git provider where your site’s source code is hosted.
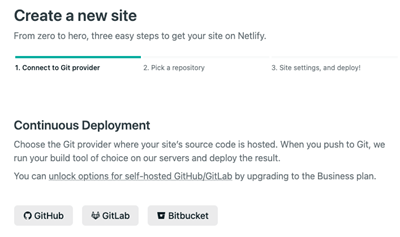
Search for the Eleventy site you wish to deploy.

Update the build command to npm run dev
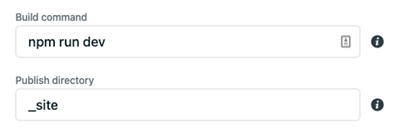
Be sure to click "Show Advanced" to show the option of adding and defining environment variables, the environment variables you'll need to add are as followed:
# get these values from the API Keys page in Agility Settings => https://manager.agilitycms.com/settings/apikeys

# Your Instance Id
AGILITY_GUID=XXX

# Your Live API Key
AGILITY_API_FETCH_KEY=XXX

# Your Preview API Key
AGILITY_API_PREVIEW_KEY=XXX

# The Locale You'd Like To Source Content From (Default en-us) => https://help.agilitycms.com/hc/en-us/articles/360056925351-Introduction-to-Locales
AGILITY_LANGUAGE_CODE=en-us

# The Name of the Sitemap You'd Like To Source Content From (Default website) => https://help.agilitycms.com/hc/en-us/articles/360055329632
AGILITY_CHANNEL_NAME=website# This tells Netlify to use Node version 14 or aboveNODE_VERSION=14
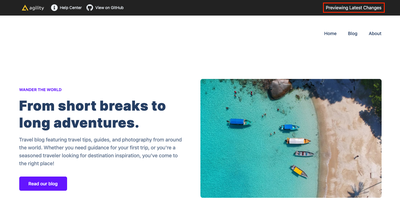
When the site is deployed, you'll notice the site with its Staging Content.
Setting Up the Preview Deployment in Agility
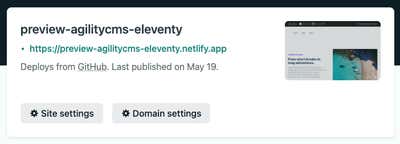
Once you have your Preview Deployment set up on Netlify, we can set up the domain Netlify provides as the Preview Domain in Agility CMS.
Learn how to customize your domain in Netlify
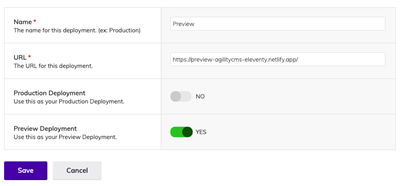
In Agility CMS, head to Settings > Sitemaps, and set up a new Custom Deployment.

Give your deployment a Name, enter the URL, and set it as the Preview Deployment then click Save.
Updating the Preview When Content is Saved
To update the Staging Content of your Preview deployment when a save is made, we'll need to set up a Webhook to notify Netlify of these changes.
In Netlify, go to Build Settings > Build & Deploy and add a Build Hook. Copy the Webhook URL Netlify generates for you.
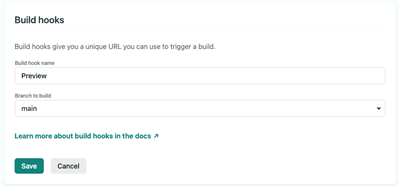
In Agility CMS, go to Settings > Web Hooks, and add a new Webhook. Give it a Name, and paste the Webhook URL Netlify generated for you. Uncheck Receive Content Publish Events. Check Receive Content Save Events. You can test the webhook by sending a Test Payload.
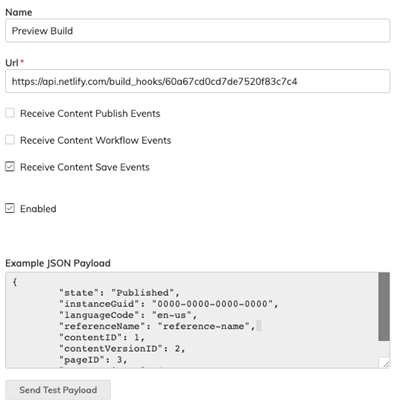
The Preview Deployment of your Eleventy site will now rebuild and update when Save events are made in Agility!
Preview Delay
Making changes to content for an Eleventy site requires the site to be re-built. Depending on the size of your site, the build time may vary from seconds to minutes. This can result in a delay between when you update content and when it is visible on your preview site.