August 2013 Release Highlights

Sync Updates
- Full Sync is no longer triggered if the Domain object is not found.
- Sync Status (in Reports) now will show content items as "In Progress" until all items have been copied down to local content files.
- Various updates to how webservers within Azure copy files between their instances, the content server and blog storage.
- Improved error logging on sync errors in Azure when an instance is down.
- Improved start up procedures in Azure when an instance is rebooting.
- Empty Content Views are no longer synchronized.
Social Publishing
You can now publish new content directly to your Facebook, Twitter and LinkedIn accounts.
Social publishing can be setup for any content definition and will be shared when you first publish your content item. Note that it will only be shared when you first publish your content item. Changing an existing content item and then publishing it again will not trigger another share event.
Additionally, any existing content items will not receive the Social Media Share settings and would need to be setup manually. Social Media Share settings will only be applied to new content items.
There are three general steps to setting up Social Publishing:
- Create/Register your Social Media App(s).
- Define your Social Media App(s) within Agility.
- Add your Social Media App(s) to a content definition and configure the properties to be shared.
Creating a Facebook App for Agility Social Publishing:
- Log into your Facebook account and navigate to https://developers.facebook.com/apps.
- Click Create New App.
- Choose an App Name (ie. "ABC Agility Social Publish").
- Leave App Namespace blank, set App Category to Other, and leave the Web Hosting field unchecked.
- Click Continue.
- Next, you will be shown an expanded view of the properties of your App.
- Ensure you set the AppDomains field to "manager1201.agilitycms.com."

- Ensure the Sandbox Mode is set to "Disabled," or OFF.
- Ensure the Website with Facebook Login field is checked and set the Site URL field to "http://manager1201.agilitycms.com".
- Click Save Changes to complete your App registration and configuration.
- Next, record the App ID and App Secret values,you will need these in order to define your App in Agility.
Creating a Twitter App for Agility Social Publishing:
- Log into your Twitter account and navigate to https://dev.twitter.com/apps.
- Click Create a new application.
- Set a Name for your app (ie. "ABC Agility Social Publish").
- Set a Description for your app (ie. "Social Publish app for Agility CMS").
- Under Website use "http://manager1201.agilitycms.com."
- Under Callback URL use "http://manager1201.agilitycms.com."
- Click Create your Twitter application (you may need to fill in a Captcha).
- Record the Consumer Key and Consumer Secret of your app ? you will need this to define your app in Agility.
- Click on the Settings tab, and ensure that "Read and Write" is selected under "Application Type."
- Save the application.

Creating a LinkedIn App for Agility Social Publishing:
- Log into your Twitter account and navigate to https://developer.linkedin.com/.
- At the top right, hover over your name, and click on "API Keys" from the dropdown menu.
- Click on "Add New Application."
- Choose the name of the Company you wish to associate the application with. This will be the account's feed where all shared items will appear.
- Fill in all of the required information and then click on "Add Application" . *** Be sure to note whether your application is to be run in Live or Development mode.
- After you add the application, your API Key and Secret Key will appear under the "OAuth Keys" section. You can Regenerate or Revoke these keys whenever you wish.
Defining your Social Media App in Agility:
- Log into Agility and navigate to Settings.
- Under Configuration, select Social Media Accounts.
- Click New Item to create a new definition.
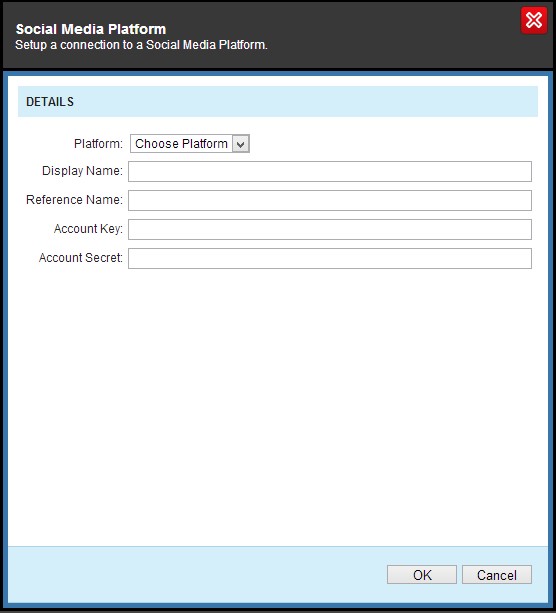
- Select your Platform (ie. Facebook, or Twitter, or LinkedIn).
- Give your app a Display Name (ie. "Facebook").
- Enter your app Account/API Key.
- Enter your app Account Secret.
- Click Connect to {Name of Platform Chosen}, this will prompt a new window and ask to confirm permission to use the app.
- Confirm status is "Connected to [social media platform name]", if not try looking at your App Settings to ensure the domain and website URLs are set correctly.
-
For Facebook or LinkedIn, once connected you will see an option below to "Publish to page". This option is used to publish to FB or LinkedIn PAGES rather than individual user profiles
NOTE: You MUST be an admin of the Facebook or LinkedIn Company page you wish to publish to in order to set up the publish to page option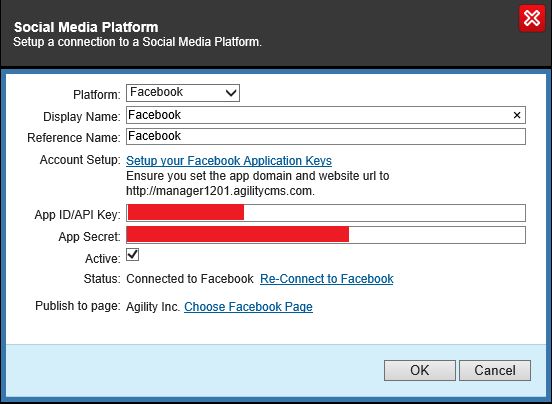
- Click Ok to close the dialogue.
Adding Social Publishing to your Content Definition:
- Log in to Agility and navigate to Settings.
- Under Customization, select Content Definitions.
- Search the list of definitions for your desired list and click its name to open the content definition properties.
- Click the Default Sharing tab.
- Click New Item to add a Social Media App.
- Choose your Account. This will be a list of your defined Social Media Accounts.
- Choose your Language, this allows you to setup multiple share templates based on language.
- Set a Title by clicking + Add Field, this will allow you to add a content item's property to be used as the Title or part of the Title.
- Set a Body Formula by clicking + Add Field, this will allow you to add a content item's property to be as the Body or part of the Body.
- Set a URL by clicking + Add Field, this will allow you to add a content item's property to be as the URL or part of the URL.
- Set an Image Formula by clicking + Add Field, this will allow you to add a content item's property to be as the Image Formula or part of the Image Formula.
- Optionally set a Start Time to specify when to share the content item on its published day. For example, one could set a Start Time to 6:00pm which would mean that if the content item was published before 6:00pm that day, then the share event would not happen until 6:00pm that day.
- Click Ok when you are satisfied.
- Click Save on the content definition.
- Now, when a content item which is based on this content definition is first published, it will be shared automatically to one or more of your Social Media Accounts (unless you have a Start Time set to later today). NOTE: the share event is only fired when your content item is first published, changing a content item which is already published and publishing it again will not send another share event.
Disabling Social Publishing on specific Content Items:
It's important to understand exactly how Social Publishing works on each content item of a content definition. There may be some cases where you do not want your published item to be shared via your Social Media Accounts.
Common Cases:
- Importing Content via the Content Import API or by CSV file
- A new content item or multiple content items which you simply don't want to share
In order for a content item to be shared on publish, it needs to have a valid list of Social Media Share Items. Once Social Media Share Definitions have been added to the content definition, each new content item created (using the same content definition) after will have these settings copied directly to the content item. Understanding this allows us to effectively control sharing on each individual content item.
There are two ways to disable sharing on content items:
- Before you publish your content item, navigate to the "Sharing" tab within content item input form.
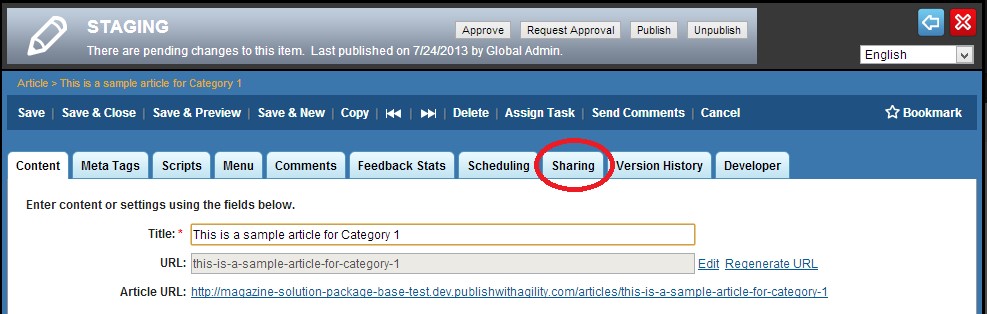
Then, select the Social Media Sharing Item(s) (these are based from your Social Media Share Definitions) you would like to disable by checking their corresponding checkbox and clicking Disable. This will ensure the current content item does not get shared on publish.
- Because we know that our Social Media Sharing Items are copied directly from what is set in the content definition when a new content item is created, we can plan ahead and save us from having to manually go into each content item and disabling Social Media Share Items. You can simply set the Social Media Share Definitions in the content definition to Disabled temporarily while you create/import your content items. These Disabled settings will then be copied to your new content items. Afterwards, you can re-enable your Social Media Share Definitions so that any new content items will once again receive enabled Social Media Sharing Items.
Image Galleries
Agility Image Galleries have been improved to allow "New" Image Galleries via a content or module definition. This allows content editors to create new Image Galleries directly from the content item/module, similar to how linked content views are handled.
Other Improvements:
- Description for an image within an Image Gallery is now an HTML type
- Upload directly to an Image Gallery without having to first upload to Media & Documents
Adding an Image Gallery Field to a Content Item/Module:
- Log into Agility and navigate to Settings.
- Select Module Definitions or Content Definitions.
- Select a Module or Content Definition from the list.
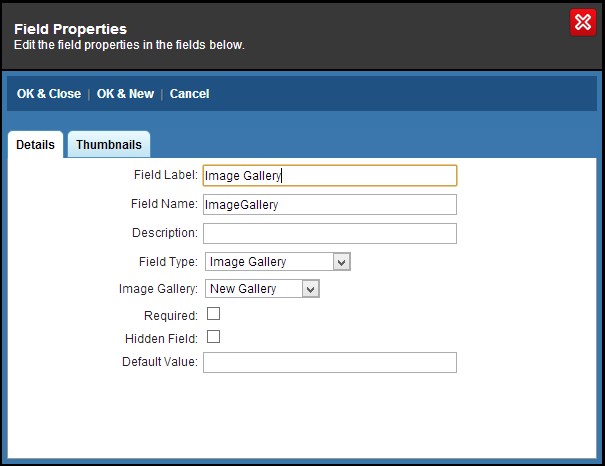
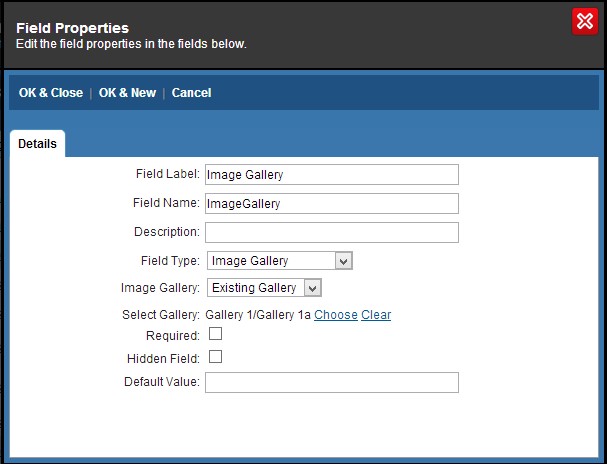
- In the Form Builder tab, click Add Field.
- Set your Field Label, Field Name, and change the Field Type to 'Image Gallery."
- You know have 3 options to choose for the field Image Gallery
- "New Gallery" - selecting this will display a Thumbnails tab and allow you to configure a list of default thumbnails to create when the Image Gallery is attached to a new content item/module.
The corresponding UI will display its own newly created Image Gallery control within the content item/module input form. The Image Gallery will automatically be stored in a nested folder structure like: {ReferenceName}/{FieldName}/{Title}-{RandomString}.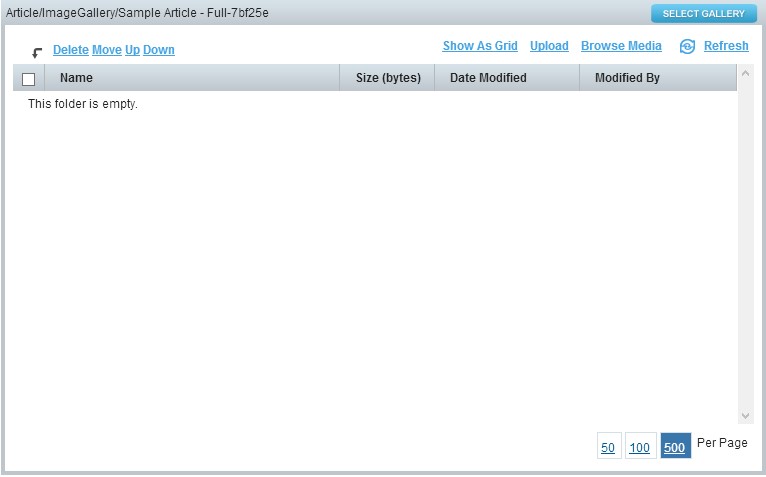
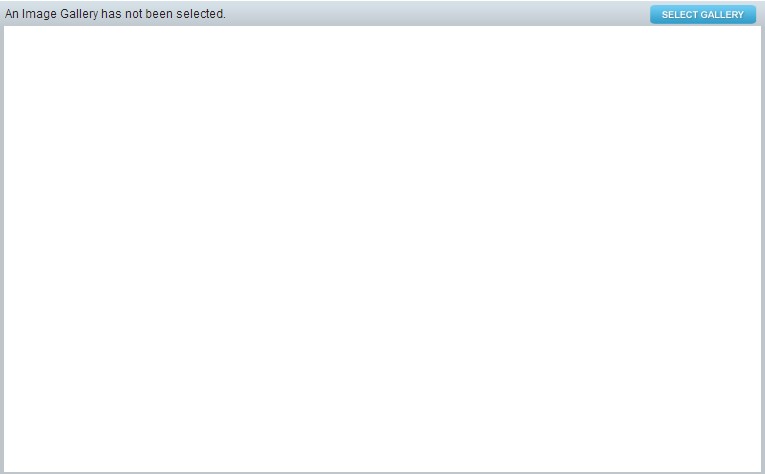
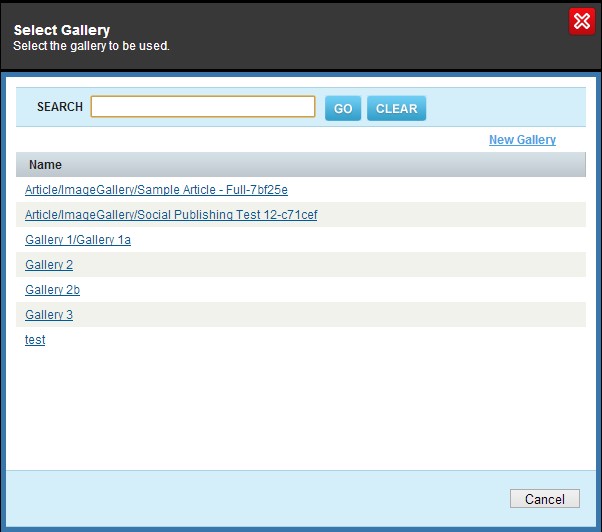
- "User Selectable," with this option selected the content editor will be allowed to choose an Image Gallery from all available Image Galleries directly from the content item/module. The below figure represents the input form control rendered.

- "Existing Gallery" allows you to permanently set which Image Gallery the module/content item will use.
The Existing Image Gallery input form control will render the existing Image Gallery.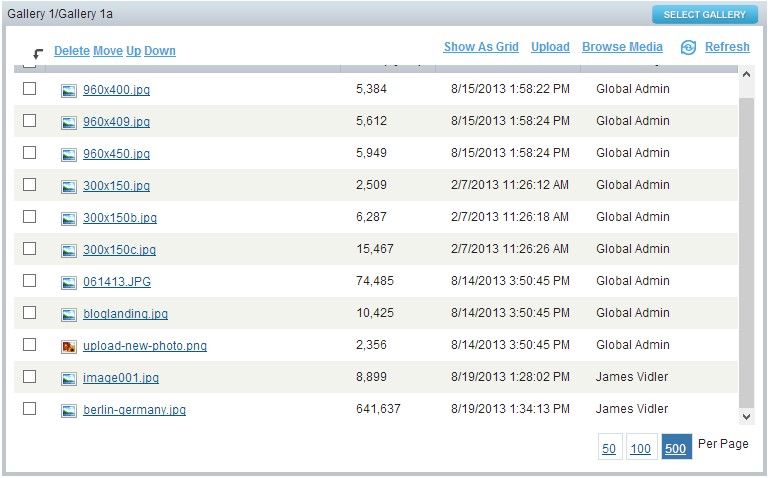
- "New Gallery" - selecting this will display a Thumbnails tab and allow you to configure a list of default thumbnails to create when the Image Gallery is attached to a new content item/module.
Uploading Images directly to an Image Gallery:
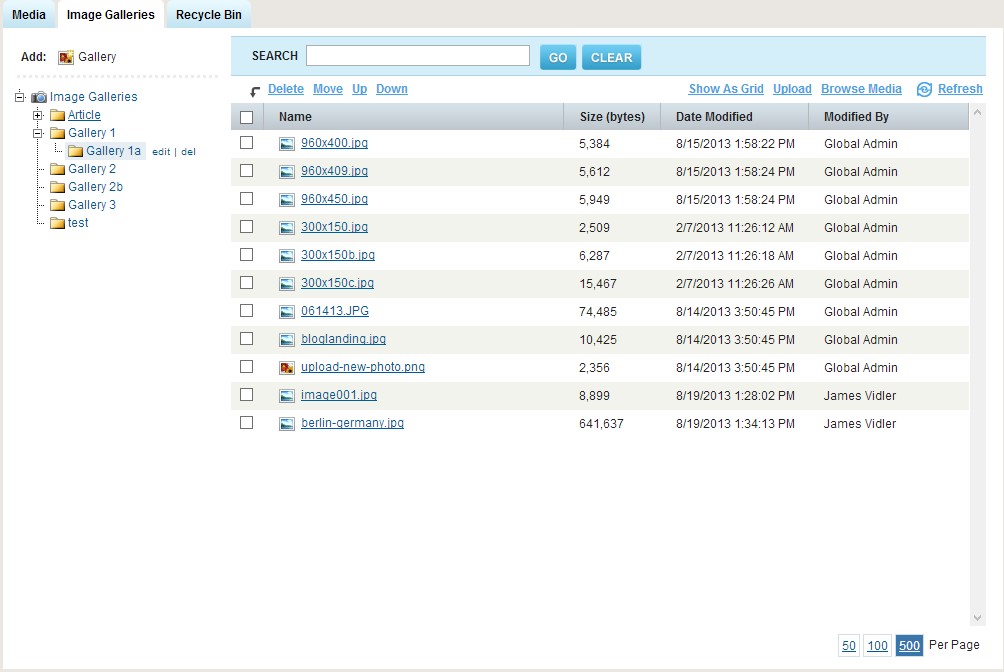
You can upload directly to an Image Gallery by either finding the Image Gallery within Media & Documents or by navigating directly to your module/content item input form which has a field of type "Image Gallery."
- Log in to Agility and navigate to Media & Documents and click on the Image Galleries tab and select your Image Gallery from the list.
OR
Log in to Agility and navigate to a module/content item which has a field type of "Image Gallery" and ensure an Image Gallery is selected.
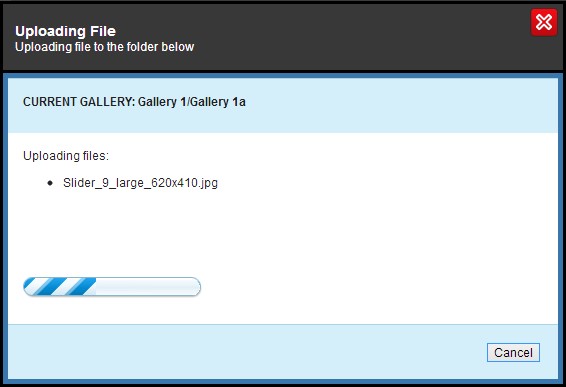
- Click Upload. This will launch a window to allow you to select an image from your local computer.
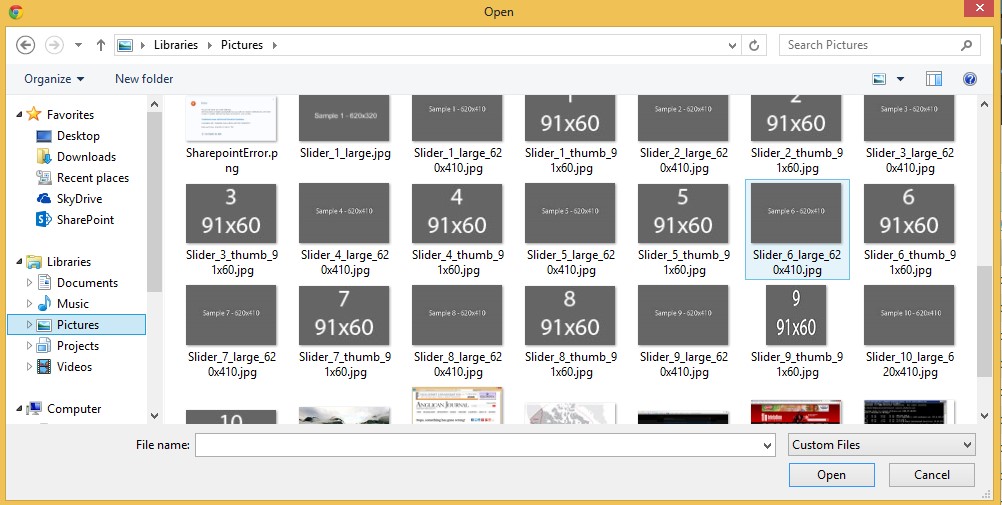
- You may select a single image, multiple images (CTRL + Left-Click on Windows), or entire Zip files which can contain numerous images.

About the Author
Agility CMS is Canada's original headless CMS platform. Since 2002, Agility has helped companies across Canada and around the world better manage their content. Marketers are free to create the content they want, when they want it. Developers are empowered to build what they want, how they want.
- Get a demo for a personalized walkthrough.
- Try for FREE and experience Agility CMS.
- Contact us with your questions.