# Teams
> Source: https://agilitycms.com/docs/owners-admins/teams
## What are Teams and why are they important?
Using Teams in your Agility Organization can save you time and make user administration easier, faster, and more reliable. Instead of giving individual users access to each Instance in your Organization, you can simply grant access to an entire Team.
*Note that Teams are only available for organizations that have at least one Enterprise level subscription.*
## Getting Started
As an Organization Admin, you can manage both **Users** and **Teams** from your organization's settings. To get there, click the Gear Icon next to your instance name in the Instance selection menu.

## Adding Team Members
Once there, the first thing you need to do is add some Team Members from the **Users** page. Once you have all of your team members added, you can start assigning them to **Teams**.
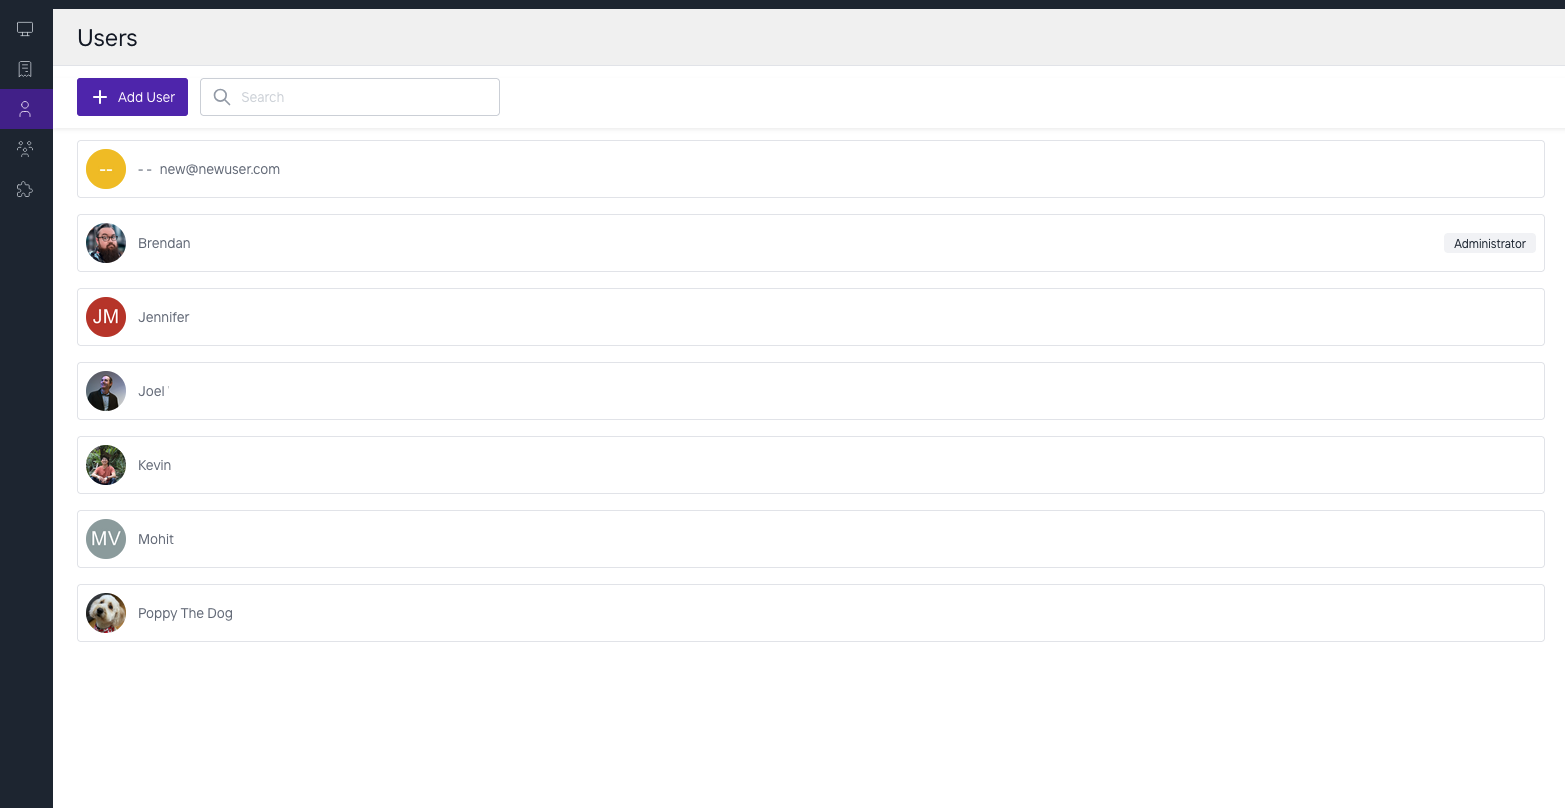
> **Note** — Users you want to add to teams must be added from the Users section of your Org as outlined here. Teams will not work if they are only added to a specific instance.
## Creating Teams
To manage teams from your Organization settings, select **Teams** from the left-hand menu.

From here, select **New Team**, assign a **Team Name** and select **Team Members** from the Add User Drop down, then hit **Save**.

## Assigning Team Roles in your Instance
The next step is to head into your Agility instance, or instances, and assign team roles. To get there, open your **Instance**, click the **Settings** gear in the top-right, then click **Team Access** from the menu on the left.
Once you're in the right spot you can click **Add Team Role**, select a **Team** from the Dropdown and assign them the appropriate **Roles** and permissions.
You can learn more about **User Roles** and **Permissions** in the *Further Reading* section at the bottom of this article.

Any user that you added to the team in step one, along with any future users you add to it, will be able to access the instance with the roles specified.
If a user is on more than one team, they'll get the roles from every team they are on.
If a user is both on a team and has also been granted individual access to a specific instance, the Team access will be ignored.
**Additional Access on Pages, Content and Assets**
Teams can also be granted granular security access to Pages, Content and Asset folder, just like with Users.
**Further Reading**
- [User Access](https://agilitycms.com/docs/owners-admins/user-access)
- [User Permissions](https://agilitycms.com/docs/owners-admins/user-permissions)
- [Item Level Permissions](https://agilitycms.com/docs/owners-admins/item-level-permissions)
- [Custom Roles](https://agilitycms.com/docs/owners-admins/custom-roles)