# Scheduling Overview
> Source: https://agilitycms.com/docs/editors/scheduling
## What is Scheduling and why is it important?
Agility offers powerful publication scheduling that allows you to plan your content in advance and decide a specific **Release Date** *(when your content should automatically be published)* or an **Expiry Date** *(when your content should automatically be unpublished) *
## What can be Scheduled?
Within Agility you can schedule:
- Content Items
- Pages
- Components
## Scheduling a Release or Expiry Date
### What is a Release Date?
The **Release Date** is the time and date you want the content to automatically **Publish** itself to your live site. This can be done for either a brand-new page or piece of content that has not been previously published to your site or to schedule an update to an existing page or piece of content.
In the event you’re scheduling an update to an existing page or piece of content and do not want the old version to remain live in the meantime, be sure to unpublish it first.
## How to Set a Release Date
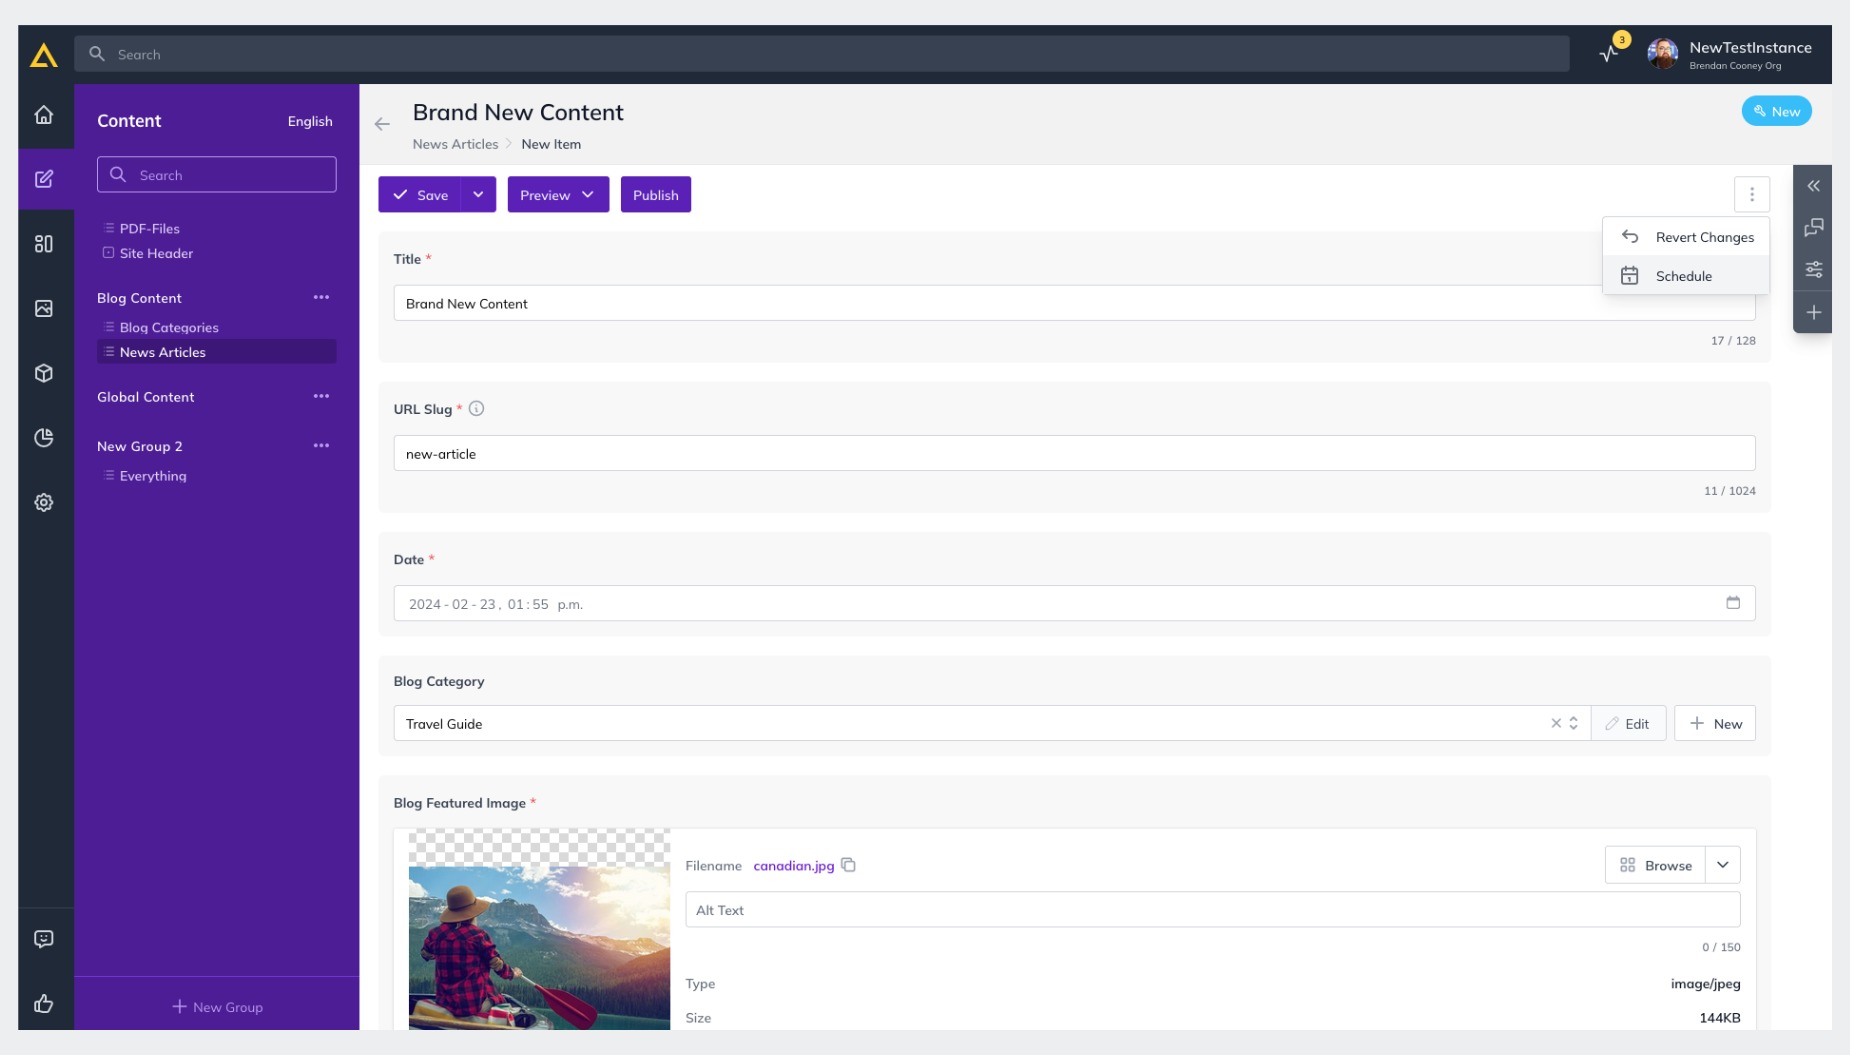
1. While in Edit mode for the Layout, Component or Piece of Content you’re managing, click the **Menu Icon** on the right-hand side.
2. Select **Schedule**.
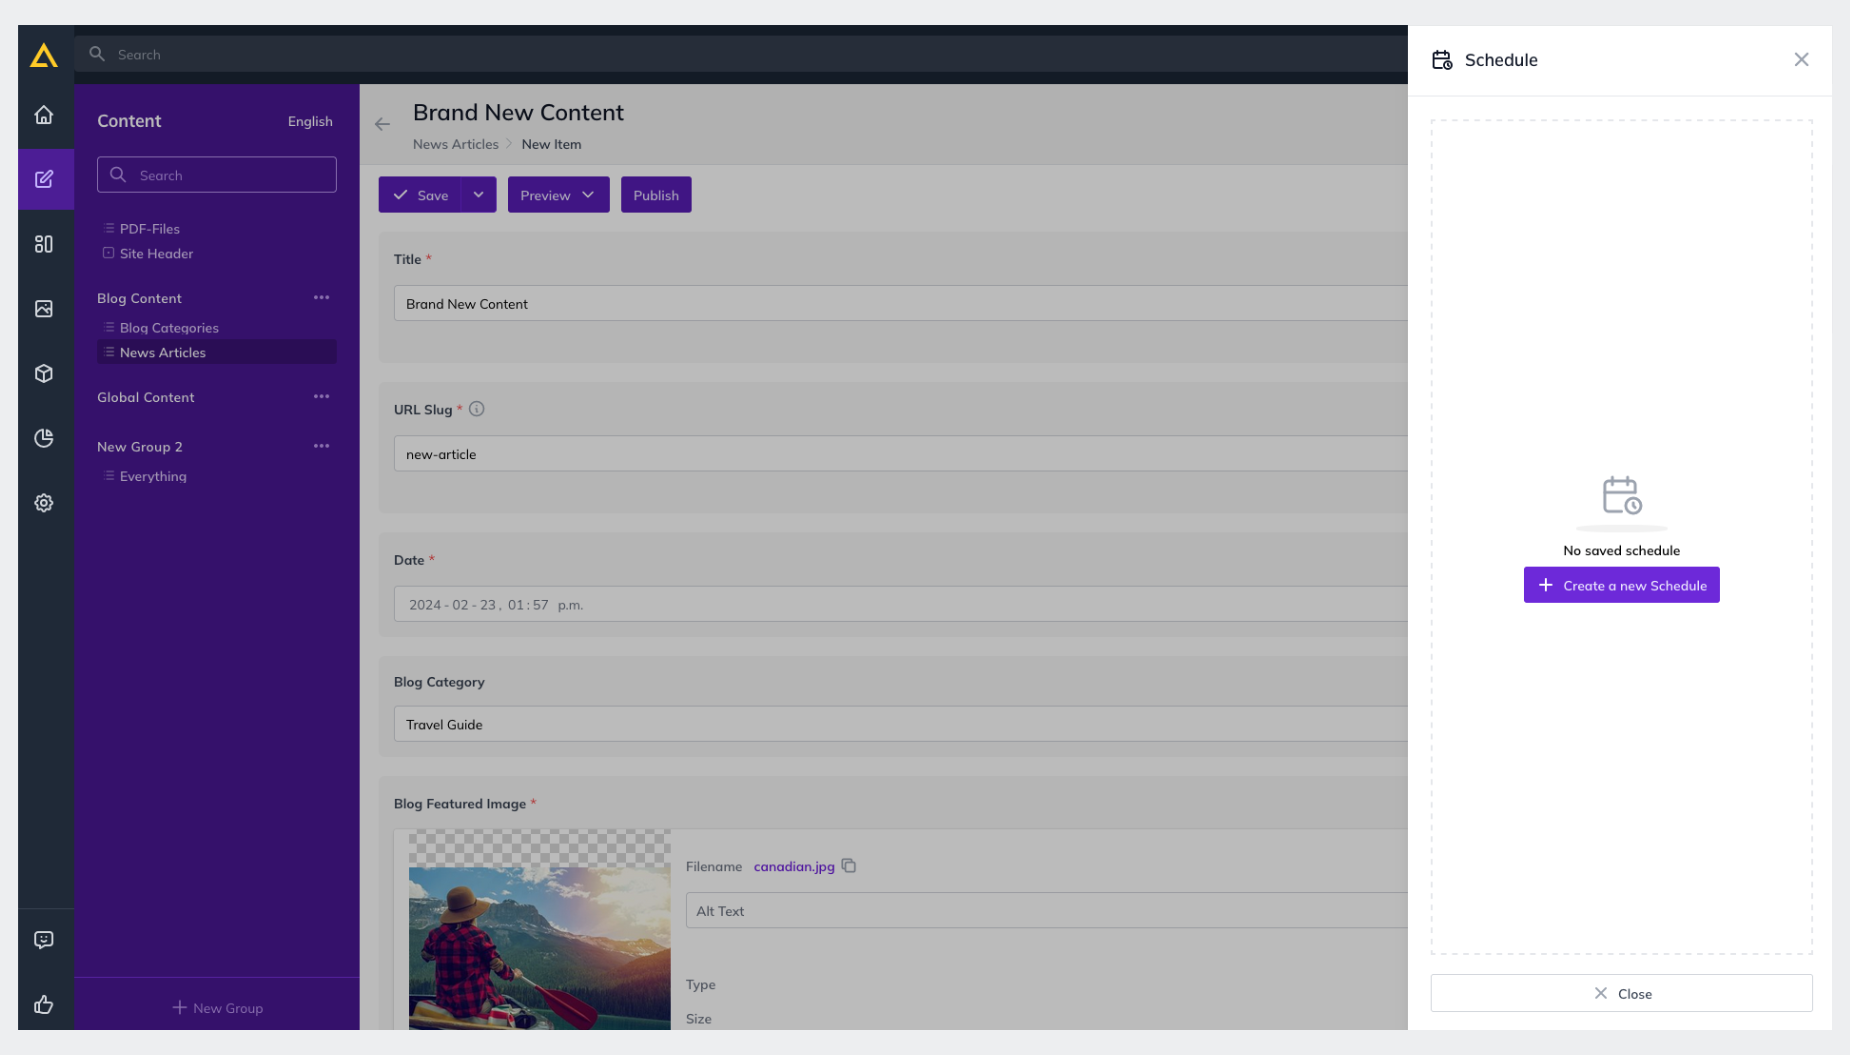
3. Click **Create a New Schedule **from the slide-out on the right-hand side.
4. Set the **Date and Time** you’d like to schedule it to release and/or expire.
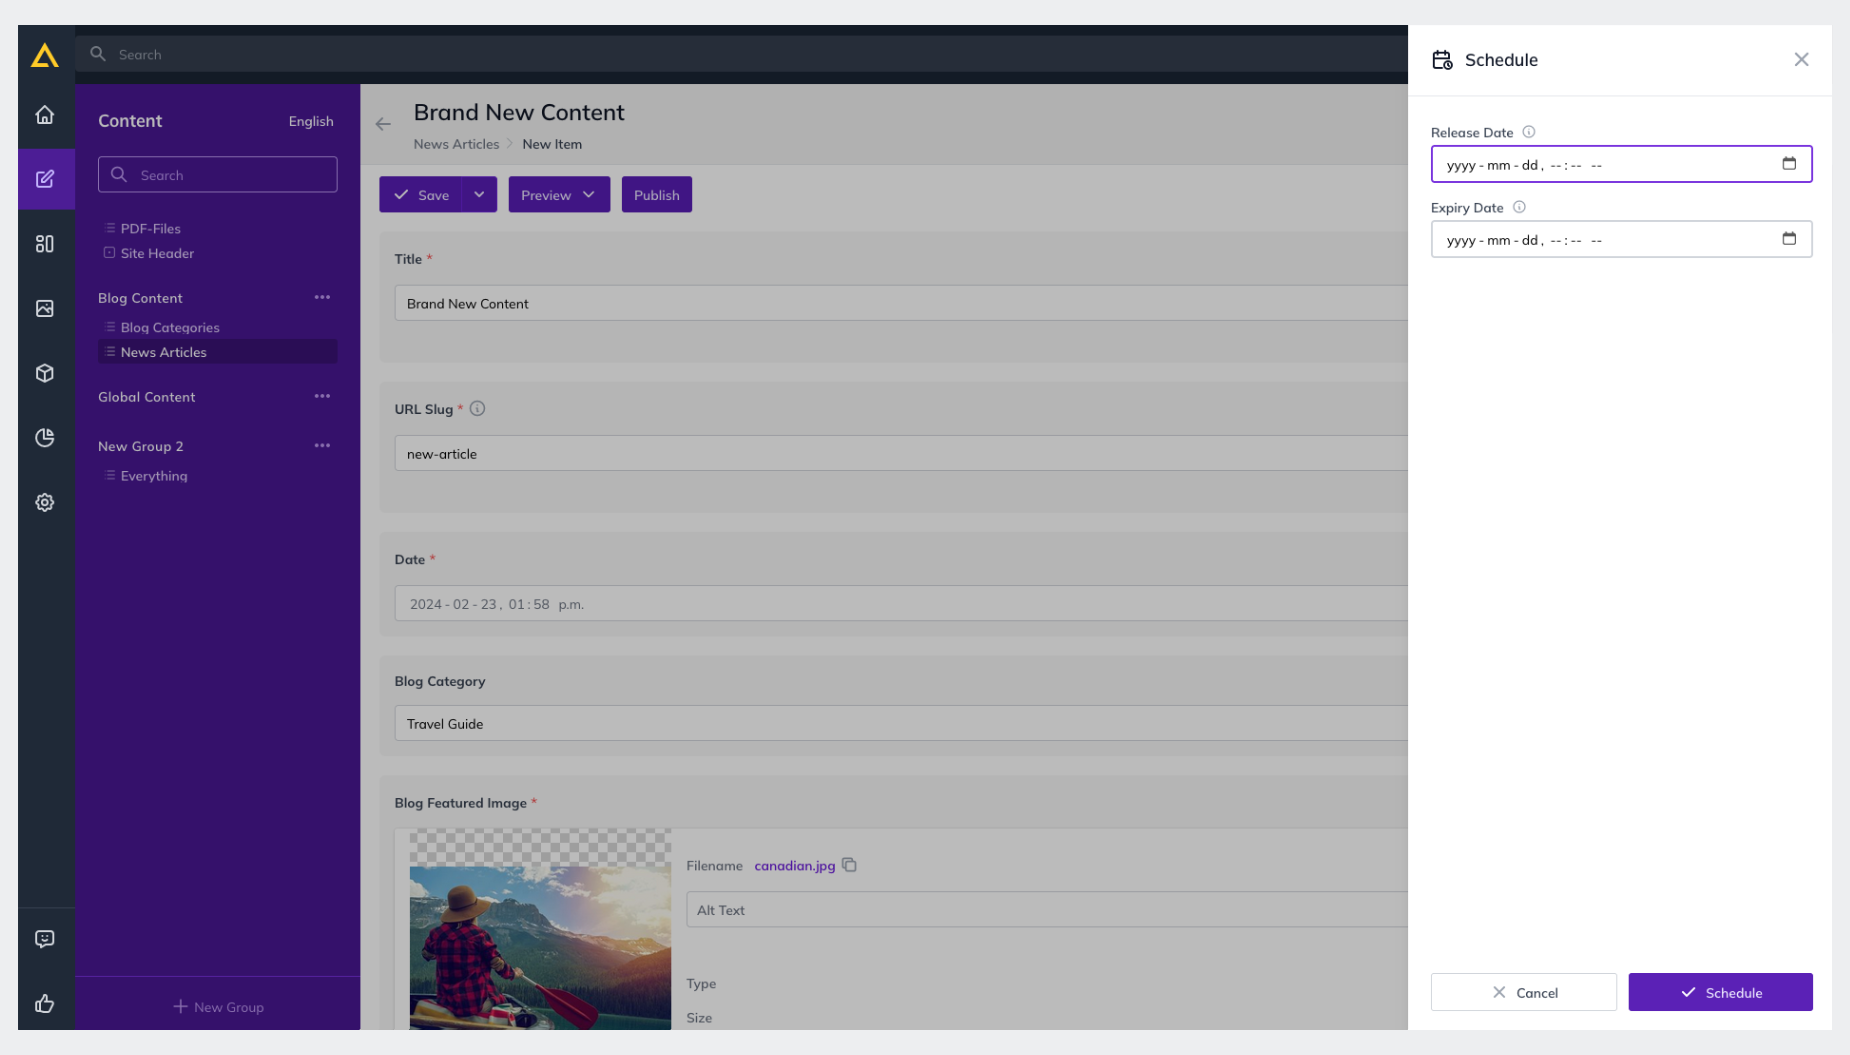
5. Click **Schedule **
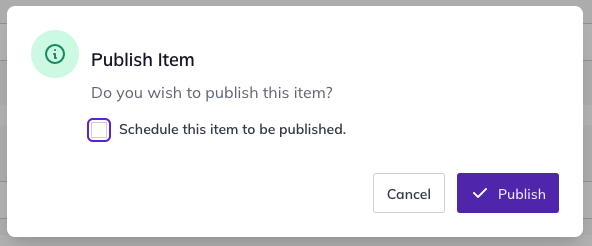
Additionally, when clicking Publish for a Page or Piece of content you’ll receive a pop-up asking you to confirm you’d like to Publish and an option to schedule instead. By checking Schedule this item to be published you’ll be given the same options you’d see in the Scheduling Menu mentioned above.
## Stacking a Change
You may find yourself in a situation where you want to make a temporary change to a page and have it automatically revert back or change to something else later. You can do this with scheduling as well.
First, publish the current change you want to be temporary, then change it back or make a new change and schedule that for the desired date. Easy!
## What is an Expiry Date?
The **Expiry Date** is the time and date you want the content to automatically **Unpublish** itself from your live site. This too can be done for either a brand-new piece of content you only want live for a certain amount of time, or an existing piece of content you’d like pulled down at a specific time or date.
## How to set an Expiry Date
- Follow the same steps as above but include a date and time for the Expiry Date as well.
## Redirect URL
If you’re scheduling a Page and would like to re-direct to a different one in the meantime, a **Redirect URL** can be set during **Step 4** while setting the time and date.